Click
![]() at the end
of these directions to
visit the book publisher site to start the process. The Download
Student Data Disk web site looks like the page displayed below. Click
icon to enlarge the picture. Click the Back button on browser when
finished viewing.
at the end
of these directions to
visit the book publisher site to start the process. The Download
Student Data Disk web site looks like the page displayed below. Click
icon to enlarge the picture. Click the Back button on browser when
finished viewing.

Click the application data files that you want to download. (Word, Excel, Access, or PowerPoint)
The following Dialog box will be displayed for Word.

The following Dialog box will be displayed for Excel.

The following Dialog box will be displayed for Access.

The following Dialog box will be displayed for PowerPoint.
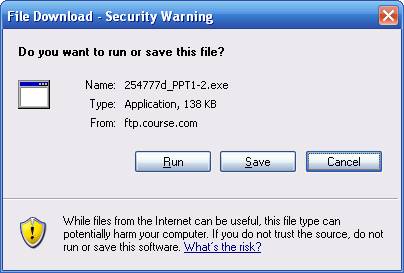
Click the Run button, the following dialog box will be displayed.
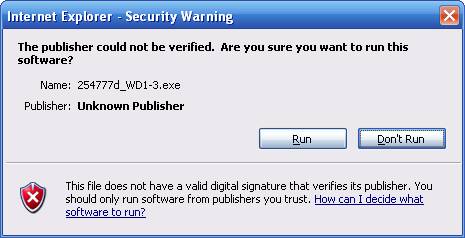
Click the Run button, the following dialog box will be displayed.
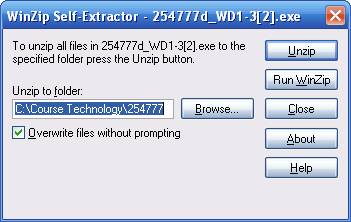
Change the Unzip
to Folder: option to drive letter of your flash drive
as indicated in the dialog
box listed below. (F:)
Click
![]() the
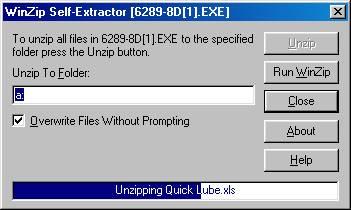
following dialog box will be displayed as the files
are unzipped to the flash drive.
the
following dialog box will be displayed as the files
are unzipped to the flash drive.
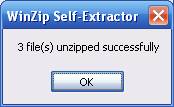
The following message will appear when the 14 files are unzipped successfully.
Click
![]() to the message
box.
to the message
box.
Click
![]() , when
the unzip process is completed.
, when
the unzip process is completed.
Right-click
![]() on
the taskbar and choose Explore
to get into Windows Explorer and check
the contents of the flash
drive. The results should look like the
diagram displayed below. Notice the folder Office 2003 2e on the USB disk
(F:) drive.
on
the taskbar and choose Explore
to get into Windows Explorer and check
the contents of the flash
drive. The results should look like the
diagram displayed below. Notice the folder Office 2003 2e on the USB disk
(F:) drive.
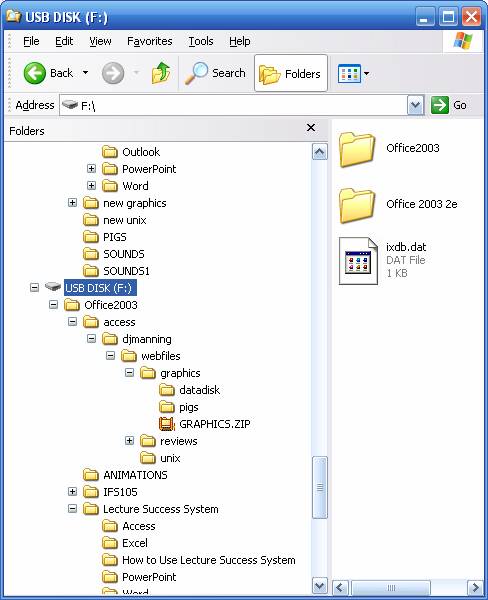
Double-click the Office 2003 2e folder in the above diagram to display the contents of the student data disk.
Click the command button at the end of these directions to visit the book publisher site to start the process to make Student Data Disk.