Click
![]() at the end
of these directions to
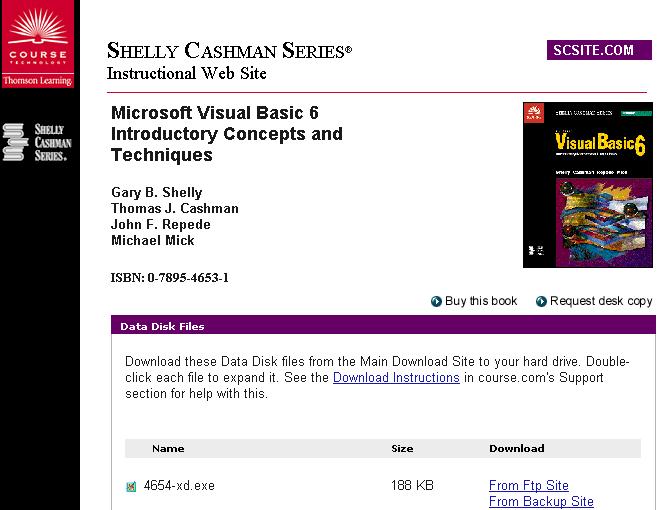
visit the book publisher site to start the process. The Download
Student Data Disk web site looks like the page displayed below. Click
icon to enlarge the picture. Click the Back button on browser when
finished viewing.
at the end
of these directions to
visit the book publisher site to start the process. The Download
Student Data Disk web site looks like the page displayed below. Click
icon to enlarge the picture. Click the Back button on browser when
finished viewing.
Click From Ftp Site from the above diagram . The following Dialog box will be displayed.
Choose the Save this program to disk
option button as illustrated in the above
diagram. Then click
![]() .
The Save As
dialog box is displayed. Insert a blank
formatted high density disk
into the floppy drive. Click
the drives drop-down list
to choose the floppy
drive as shown in the diagram
illustrated below.
.
The Save As
dialog box is displayed. Insert a blank
formatted high density disk
into the floppy drive. Click
the drives drop-down list
to choose the floppy
drive as shown in the diagram
illustrated below.

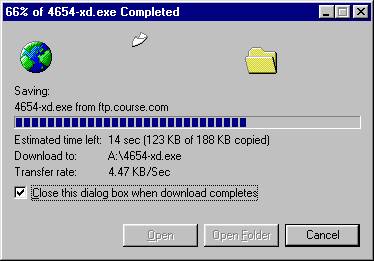
Click
![]() .
The following dialog box displayed below will appear as the
download process is in progress.
.
The following dialog box displayed below will appear as the
download process is in progress.
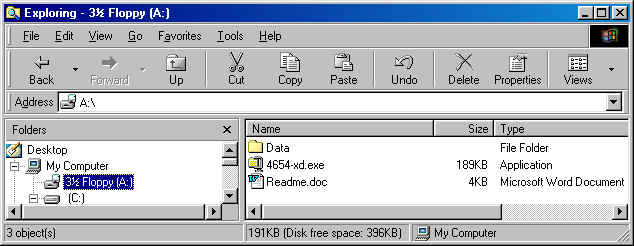
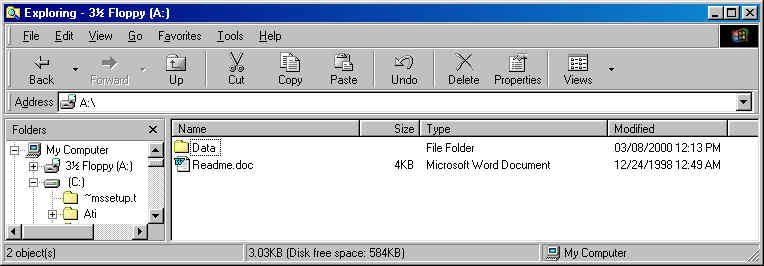
After the download completes successfully right-click
![]() on
the taskbar and choose Explore
to get into Windows Explorer and check the contents of the floppy
drive. The results should look like the diagram displayed below.
on
the taskbar and choose Explore
to get into Windows Explorer and check the contents of the floppy
drive. The results should look like the diagram displayed below.

Double-click the 4654-xd.exe file on the floppy disk illustrated on the above diagram. The following WinZip Self-Extractor Dialog Box will be displayed
![WinZip Self-Extractor [4654-XD.EXE] Dialog Box default folder](graphics/datadisk/diskvb6.gif)
Change the Unzip to Folder: option as indicated in the dialog box listed below. (A:)
![WinZip Self-Extractor [4654-XD.EXE] Dialog Box new target folder](graphics/datadisk/diskvb7.gif)
Click
![]() the
following dialog box will be displayed as the files in the 4654-XD.EXE file
are unzipped to the A drive.
the
following dialog box will be displayed as the files in the 4654-XD.EXE file
are unzipped to the A drive.
![WinZip Self-Extractor [4654-XD.EXE] Dialog Box downloading](graphics/datadisk/diskvb8.gif)
The following message will appear when the 44 files are unzipped successfully.
![WinZip Self-Extractor [4654-XD.EXE] Dialog Box on completion](graphics/datadisk/diskvb9.gif)
Click
![]() to the message
box.
to the message
box.
Click
![]() when
the unzip process is completed.
when
the unzip process is completed.
Right-click
![]() on
the taskbar and choose Explore
to get into Windows Explorer and check the contents of the floppy
drive. The results should look like the diagram displayed below.
on
the taskbar and choose Explore
to get into Windows Explorer and check the contents of the floppy
drive. The results should look like the diagram displayed below.
You can right-click on file named 4654-xd and choose the Delete option on the Short-Cut menu to remove the 4654-XD.exe file from the student data disk. The following warning message will be displayed.
Click the
![]() to remove the file. The files on the A drive will appear as listed below.
to remove the file. The files on the A drive will appear as listed below.
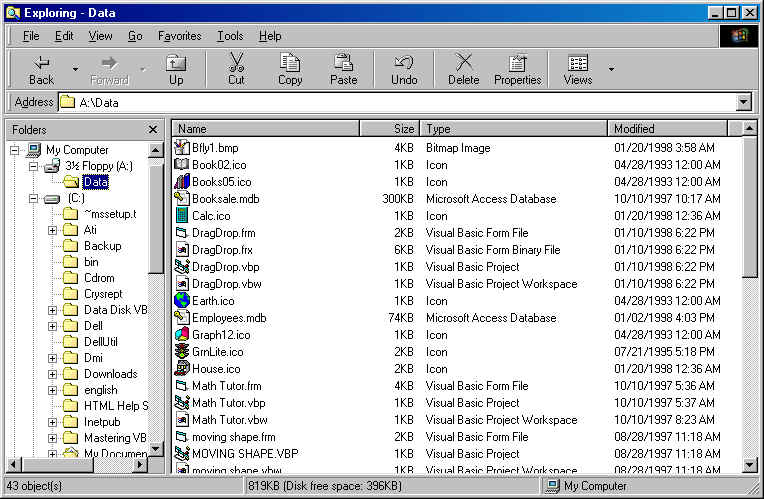
Double-click the Data folder in the above diagram to display the diagram listed below which shows the contents of the student data disk. Click icon to enlarge the picture. Click the Back button on browser when finished viewing.
Click the command button at the end of these directions to visit the book publisher site to start the process to make Student Data Disk.