(available from BioQuip: www.bioquip.com)
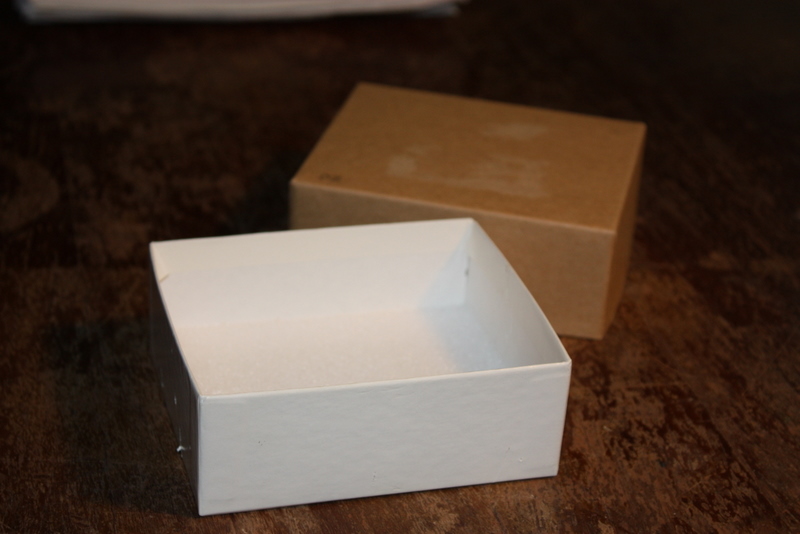
For smaller numbers of specimens
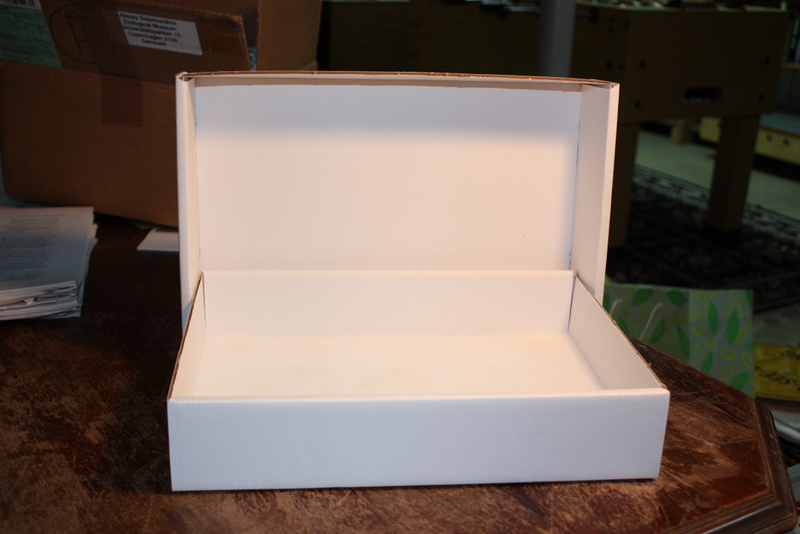
For larger numbers of specimens
Unit tray shipper with polyfoam insert
Cat. No. 1025BX
Folding insect box
Cat. No. 1002F or 1002FX
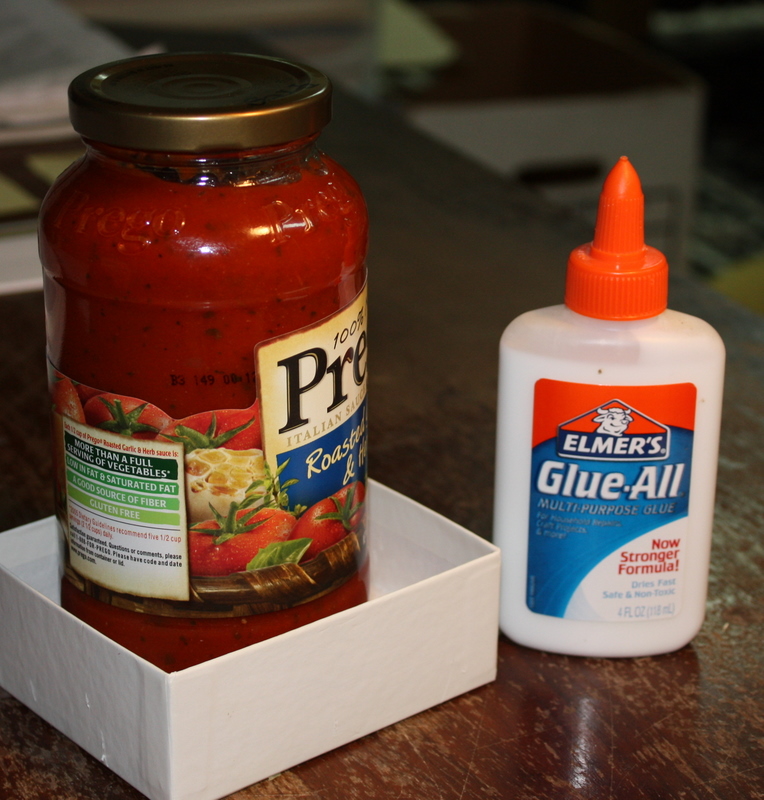
- Sometimes the foam bottom is not adequately glued down (small) or not glued in to begin with (large)
- If this is the case:
- Coat bottom with glue
- Add foam pinning layer
- Add weight
- Allow to dry
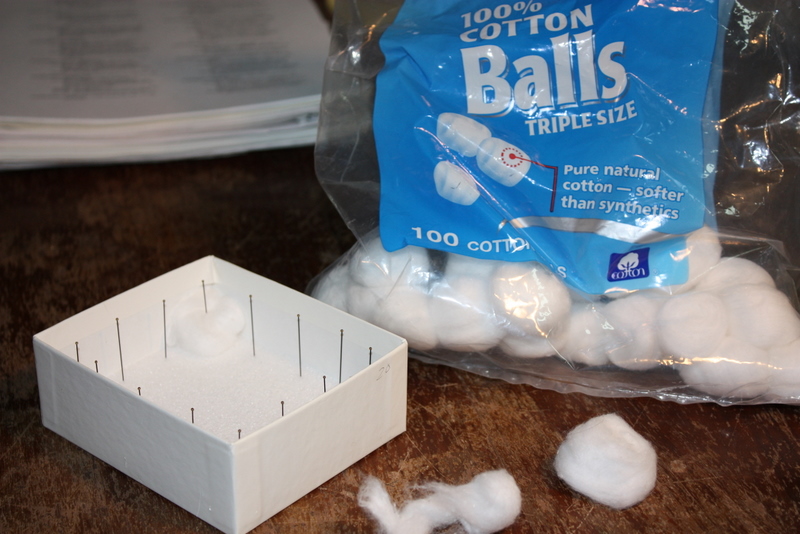
- Used to capture a head or leg or other body part if it falls off during shipping
- Light parts of insects tend to lodge in the soft cotton fibers
- May be possible to associate part with specimen
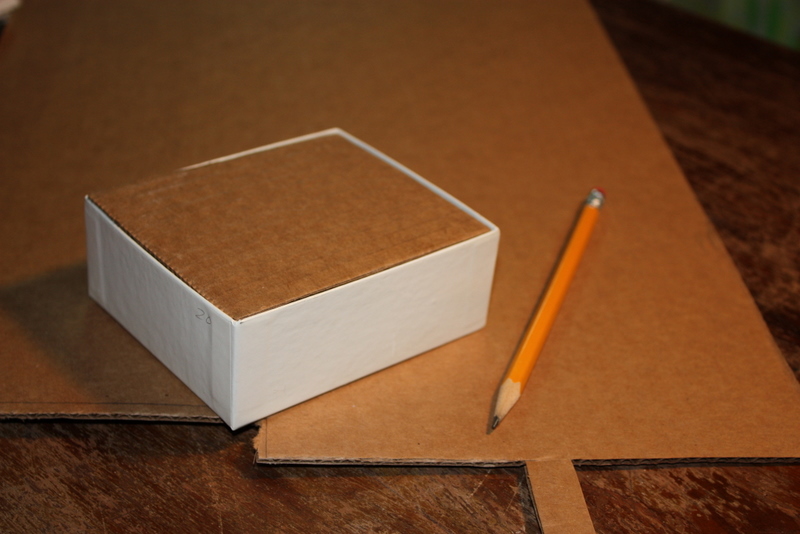
- Set the pinning box upside down on a piece of corrugated cardboard
- Draw shape with pencil
- Cut out cardboard – should be just slightly smaller than outer edge of box
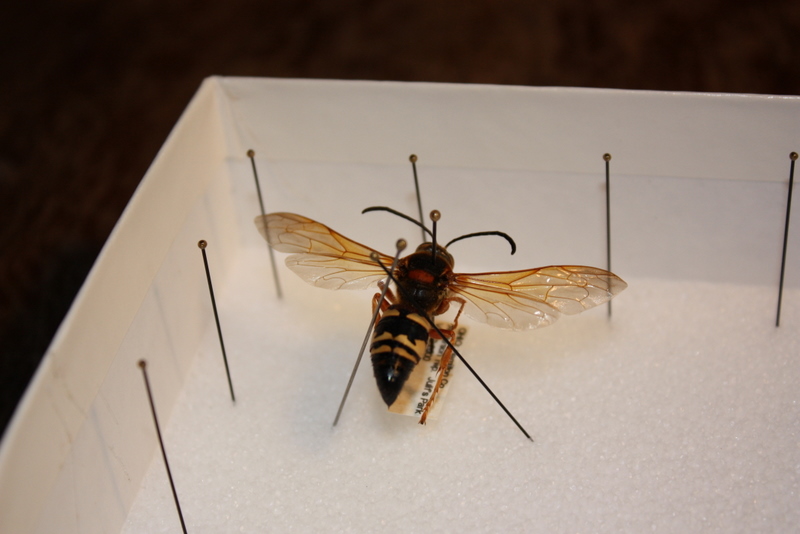
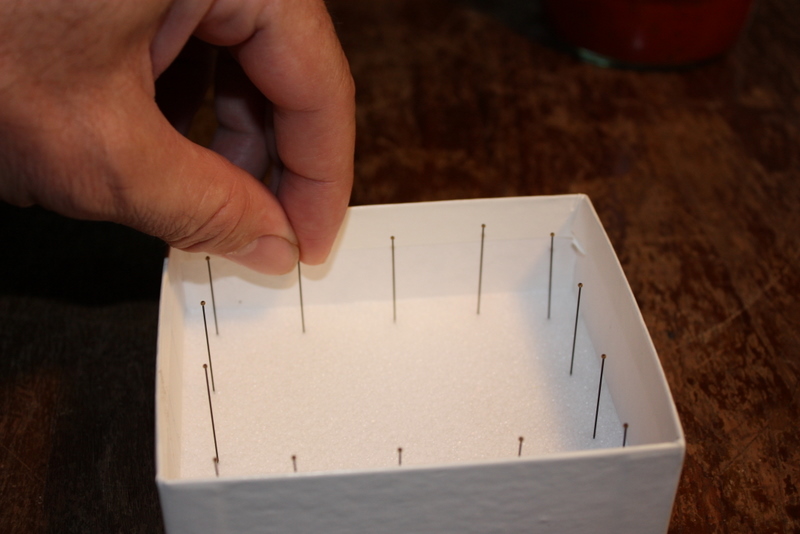
Straight along sides or an inverted “V"
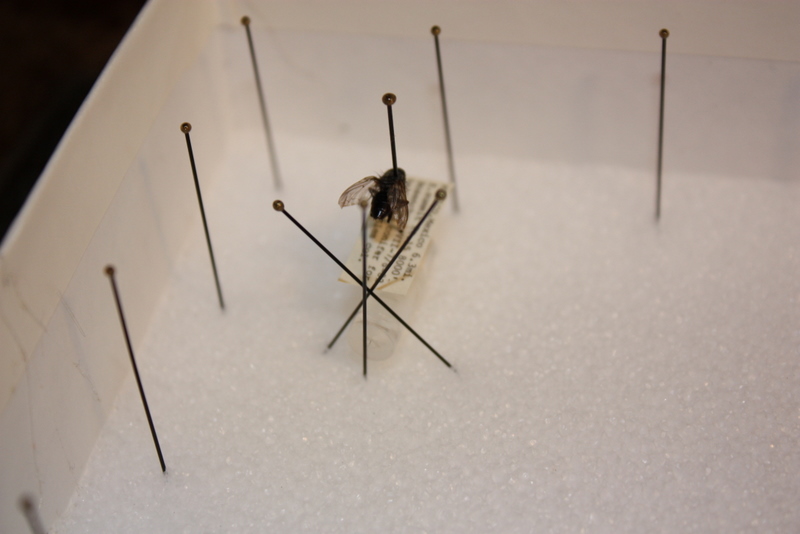
Inverted “V” with straight up pin at end
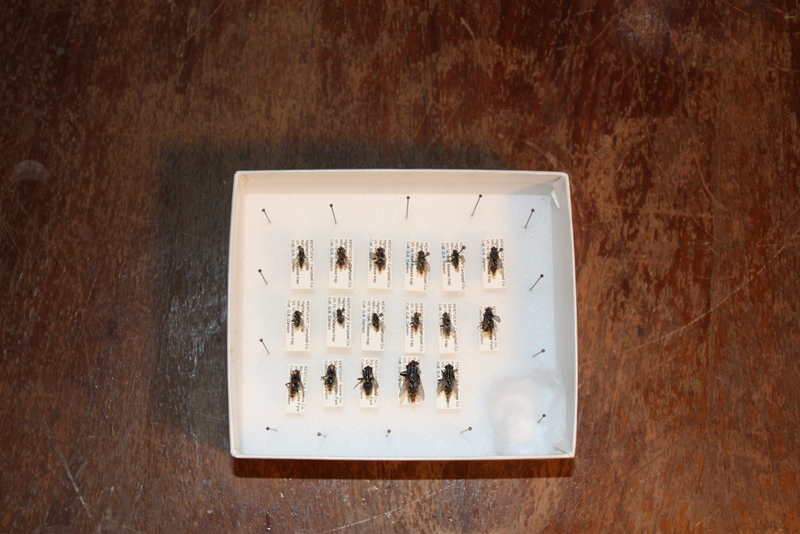
- Gently set cardboard inner lid on top of specimen
- Make sure lid is stable and fits well inside pinning box
- If necessary, add extra support pins in empty areas of pinning box
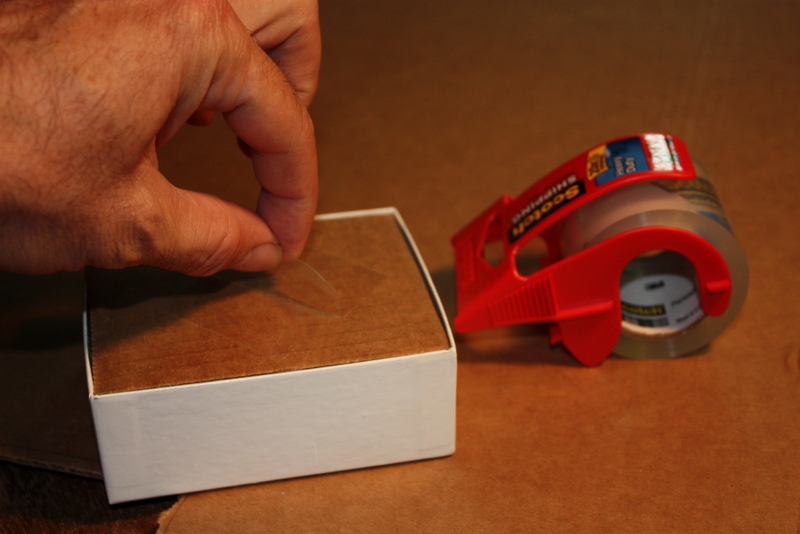
- Fold a piece of tape to make a “handle” for easy removal of inner lid
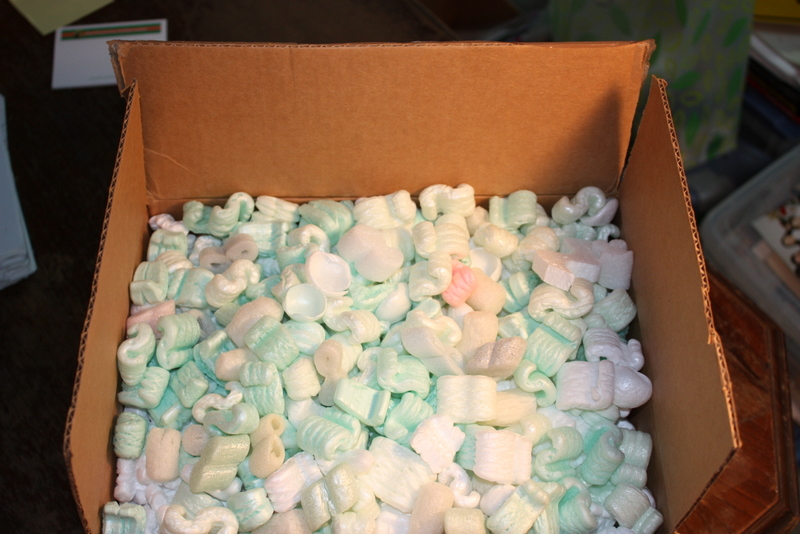
- You want to make sure that the space between the cardboard insert and box lid are filled
- Use folded paper towel or piece of bubble wrap to fill space
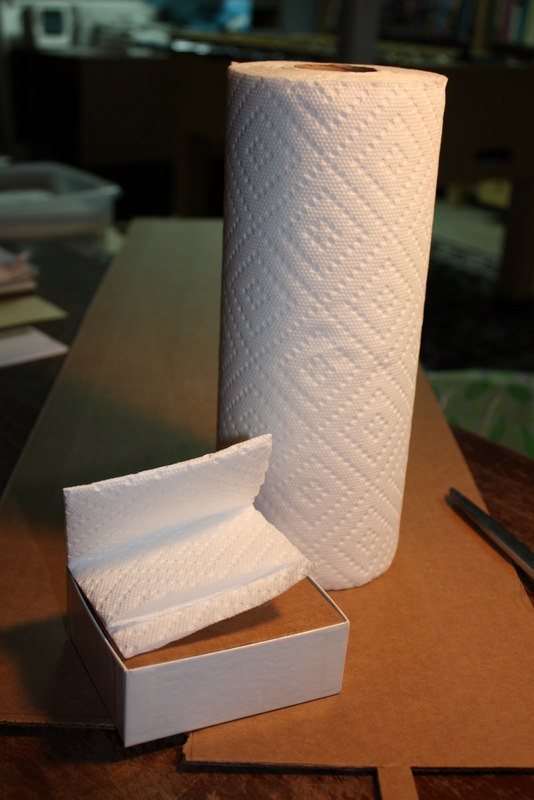
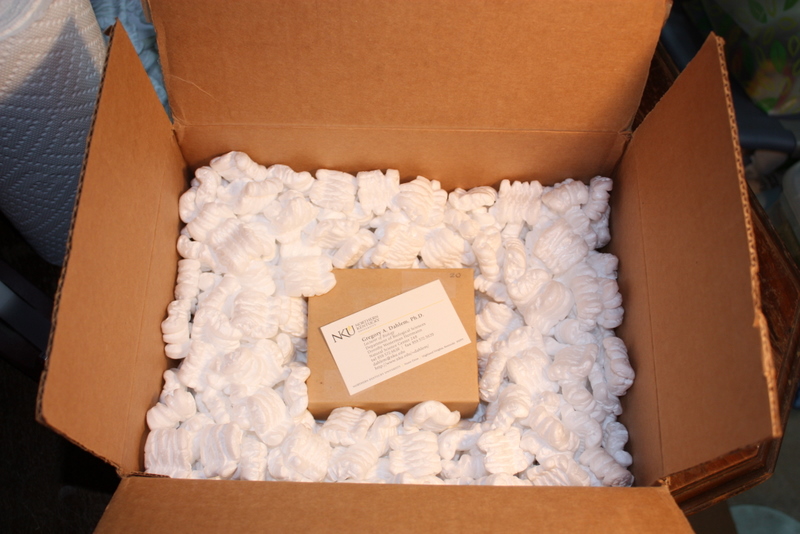
When you close and tape down lid, you should have to
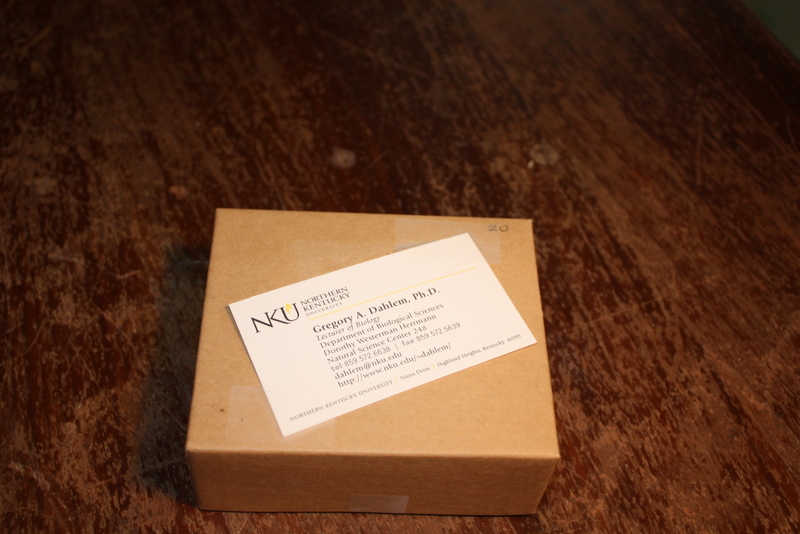
- Remove all old labels and mark out any old printed addresses or info if you are re-using a cardboard shipping box
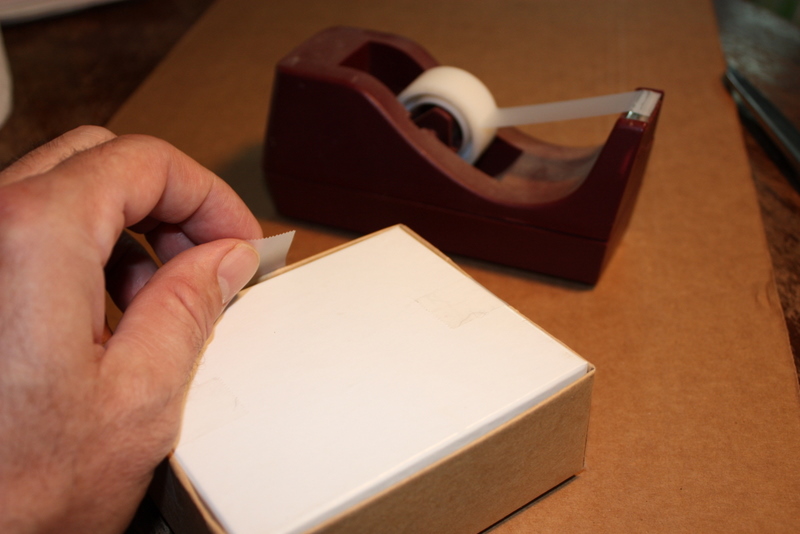
- Tape the box well with good quality shipping tape or strapping tape
- You may want to wrap box in brown shipping paper, especially if old box has lots of markings on it (be sure to put address on box itself and outer wrapping paper!)
- Use red ink marker to write “Fragile” on several sides of box (or use stickers labeled “Fragile”)
- Include both return address and shipping address on front
- Mail package. USPS Priority Mail usually cheaper than UPS or other shipping companies – I usually pay the little extra for tracking